Soft Chewy Sugar Cookies The Perfect Recipe
Soft and chewy sugar cookies are a timeless classic for a reason. There’s something incredibly comforting and nostalgic about sinking your teeth into a cookie that’s just the right balance of tender and slightly yielding. These aren’t your average brittle sugar cookies; we’re talking about melt-in-your-mouth perfection that leaves you craving just one more. People adore them for their simple elegance, their delightful sweetness, and their incredible versatility. Whether you’re decorating them for a holiday, enjoying them with a cup of tea, or simply seeking a moment of pure, unadulterated cookie bliss, soft and chewy sugar cookies deliver every single time. What truly makes this recipe special is the secret to achieving that perfect texture – a delicate dance of ingredients that ensures each bite is a little piece of heaven.
The Ultimate Soft and Chewy Sugar Cookie Recipe
Get Ready for Your New Favorite Treat
Soft and Chewy Sugar Cookies
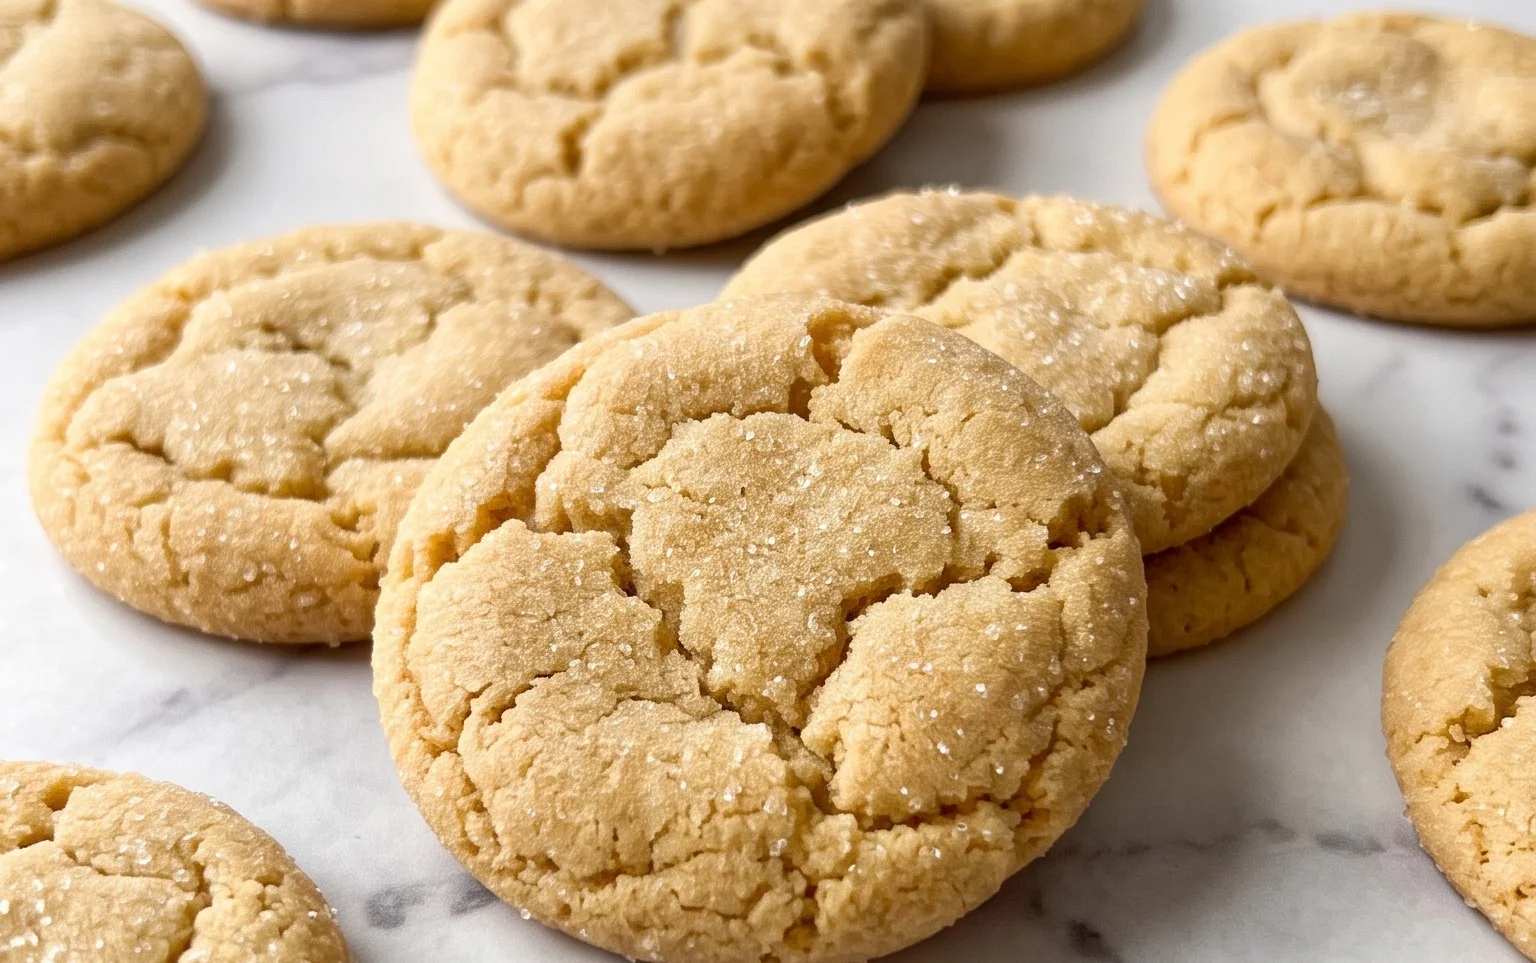
There’s something undeniably comforting about a perfectly soft and chewy sugar cookie. Not the kind that crumbles into dust after one bite, or the overly crisp ones that feel like a jaw workout. I’m talking about those delightful little discs of joy that yield slightly with a gentle press, boasting a sweet, buttery flavor with just the right hint of vanilla. These are the cookies that are perfect for dunking in milk, dressing up with simple frosting, or simply enjoying plain. Baking them is a process that’s both rewarding and surprisingly straightforward, yielding a batch of cookies that will disappear faster than you can say “second helping.”
This recipe has been my go-to for years, refined through countless batches to achieve that ideal texture and flavor. The key lies in a few simple techniques and the right ingredient ratios, ensuring a consistently delicious outcome every time. Let’s get started on creating your own batch of these beloved treats!
Ingredients:
- 2 ½ cups (300g) all-purpose flour*
- ½ teaspoon baking powder
- ½ teaspoon baking soda
- ½ teaspoon salt
- ¾ cup (170g) unsalted butter ((1 ½ sticks of butter), softened at room temperature but still slightly cool)
- 1 ¼ cups (250g) granulated sugar
- 1 large egg
- 1 egg yolk
- 2 teaspoons vanilla extract
- ¼ cup (50g) granulated sugar (for rolling)
Preparing Your Dough
The foundation of any great cookie is a well-balanced dough. We’ll start by whisking together our dry ingredients. In a medium bowl, combine the all-purpose flour, baking powder, baking soda, and salt. Give it a good whisk to ensure everything is evenly distributed. This step is important because it prevents pockets of leavening agents or salt from making some cookies taste different from others. Set this aside for now.
Next, we move on to the wet ingredients. In a large mixing bowl, you’ll cream together the softened butter and the granulated sugar. This is where the magic of texture really begins. Using an electric mixer on medium speed, beat the butter and sugar until the mixture is light, fluffy, and pale in color. This process incorporates air into the dough, which contributes to the cookie’s tenderness. It’s crucial that your butter is softened but not melted – it should still hold its shape but yield easily to your finger. If it’s too cold, it won’t cream properly. If it’s too warm, your cookies might spread too much.
Once the butter and sugar are beautifully creamed, it’s time to add the eggs and vanilla. Add the large egg and the egg yolk one at a time, beating well after each addition until fully incorporated. The extra egg yolk is a secret weapon for chewiness and richness, adding more fat without making the dough too wet. Scrape down the sides of the bowl as needed to ensure everything is getting mixed in evenly. Finally, stir in the vanilla extract for that signature sweet aroma and flavor.
Bringing It All Together
Now, we’ll gradually introduce the dry ingredients to the wet ingredients. With your mixer on low speed, or by hand using a spatula, add the flour mixture to the butter mixture in three additions. Mix until just combined. It’s very important not to overmix at this stage. Overmixing develops the gluten in the flour, which can lead to tough cookies. Stop mixing as soon as you no longer see streaks of dry flour. The dough will be soft and slightly sticky, which is exactly what we want.
Chilling and Shaping
This is a critical step for achieving that perfect soft and chewy texture and preventing excessive spreading. Cover the bowl with plastic wrap and refrigerate the dough for at least 1 hour, or until firm enough to handle. Chilling the dough allows the gluten to relax and the fats to firm up. This controlled chilling is what gives us that wonderfully chewy center. You can even make the dough a day or two in advance and keep it refrigerated.
Once the dough is chilled and firm, prepare your baking sheets by lining them with parchment paper. This prevents sticking and makes for easy cleanup. In a small, shallow bowl, pour the ¼ cup of granulated sugar for rolling.
Take about 1 to 1.5 tablespoons of the chilled dough and roll it into a ball between your palms. Then, gently roll each dough ball in the shallow bowl of granulated sugar until it’s lightly coated. This sugary coating not only adds a touch of sparkle and crunch to the finished cookie but also helps them maintain their shape and develop a lovely golden edge. Place the sugared dough balls about 2 inches apart on the prepared baking sheets.
Baking to Perfection
Preheat your oven to 375°F (190°C).
Now, it’s time to bake these beauties! Place the baking sheets in the preheated oven. Bake for 9 to 12 minutes, or until the edges are lightly golden brown and the centers still look slightly soft and underdone. This is the key to a chewy cookie – you want to pull them out when they are just set. They will continue to cook and firm up on the hot baking sheet.
Once baked, remove the baking sheets from the oven. Let the cookies cool on the baking sheets for 5 minutes. This allows them to set up enough to be moved without losing their shape. After 5 minutes, carefully transfer the cookies to a wire rack to cool completely. As they cool, you’ll notice them firming up to that perfect chewy texture.
Enjoy your homemade soft and chewy sugar cookies! They are best enjoyed fresh, but can be stored in an airtight container at room temperature for up to 3 days.
Conclusion:
There you have it! These soft and chewy sugar cookies are an absolute dream for any cookie lover. Their perfect texture, which balances a delightfully tender center with just the right amount of chewiness, makes them a guaranteed crowd-pleaser. They’re simple enough for a beginner baker yet sophisticated enough to impress, embodying the very essence of comfort baking. I truly believe this recipe will become a staple in your kitchen.
These cookies are incredibly versatile. Enjoy them simply as they are, perhaps with a glass of cold milk for that nostalgic childhood experience. For a touch of elegance, consider a light glaze made with powdered sugar and a splash of vanilla or lemon juice. They also make a fantastic base for decorating with royal icing for holidays or special occasions. You can even get creative with sprinkles pressed into the dough before baking for a festive touch!
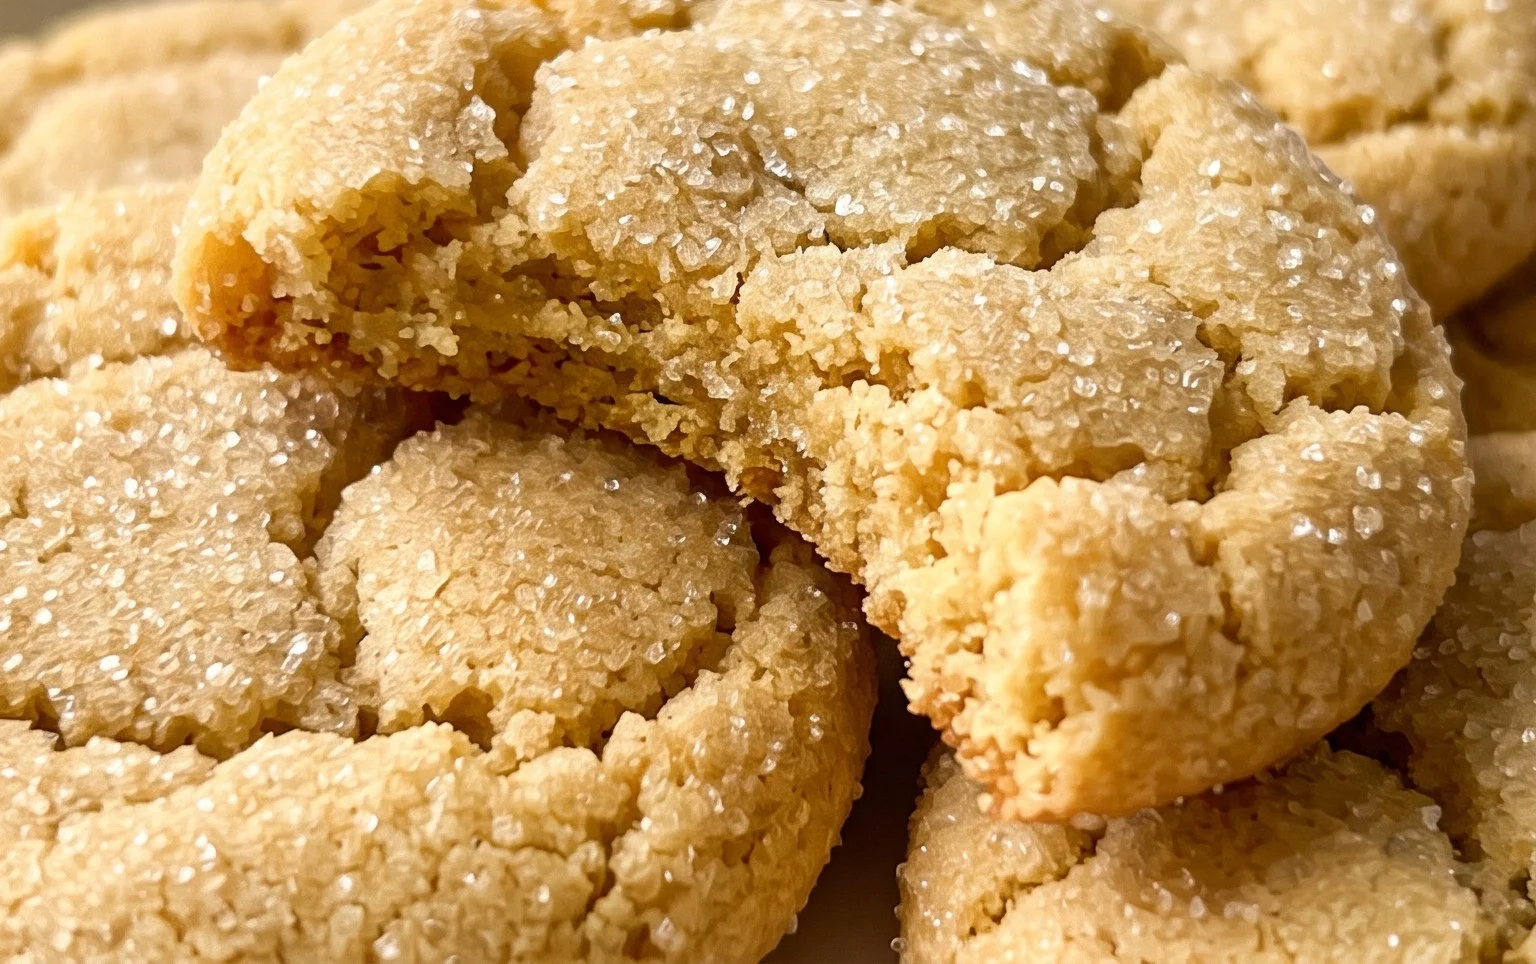
Don’t be afraid to experiment with variations! A pinch of cinnamon or a dash of nutmeg can add a warm spice to the dough. For a hint of citrus, try adding some finely grated lemon or orange zest. If you’re feeling adventurous, a sprinkle of coarse sugar on top before baking will add a delightful crunch and sparkle.
I wholeheartedly encourage you to give these soft and chewy sugar cookies a try. I’m confident you’ll fall in love with their irresistible charm and delicious flavor. Happy baking!
Frequently Asked Questions:
Why are my sugar cookies spreading too much?
Several factors can contribute to excessive spreading. Ensure your butter is softened, not melted. Over-mixing the dough after adding the flour can also develop gluten, leading to spread. Make sure your oven temperature is accurate; an oven that’s too hot can cause the cookies to melt and spread quickly.
Can I make these cookies ahead of time?
Absolutely! You can make the dough and refrigerate it for up to 3 days. Chilled dough is often easier to handle and can result in slightly thicker cookies. You can also freeze the scooped cookie dough balls on a baking sheet until firm, then transfer them to a freezer-safe bag for up to 2-3 months. Bake from frozen, adding a minute or two to the baking time.
How do I store my soft and chewy sugar cookies to keep them soft?
To maintain their soft and chewy texture, store the cooled cookies in an airtight container at room temperature. Placing a slice of bread or a small piece of apple in the container can help keep them extra moist. Avoid storing them with very crisp cookies, as this can transfer moisture and make them less chewy.
Soft and Chewy Sugar Cookies
These sugar cookies are perfectly soft and chewy, with a delightful vanilla flavor. Ideal for any occasion, they are simple to make and always a crowd-pleaser.
Ingredients
-
2 ½ cups (300g) all-purpose flour
-
½ teaspoon baking powder
-
½ teaspoon baking soda
-
½ teaspoon salt
-
¾ cup (170g) unsalted butter, softened
-
1 ¼ cups (250g) granulated sugar
-
1 large egg
-
1 egg yolk
-
2 teaspoons vanilla extract
-
¼ cup (50g) granulated sugar, for rolling
Instructions
-
Step 1
In a medium bowl, whisk together the flour, baking powder, baking soda, and salt. Set aside. -
Step 2
In a large bowl, cream together the softened butter and 1 ¼ cups granulated sugar until light and fluffy. -
Step 3
Beat in the egg, egg yolk, and vanilla extract until well combined. -
Step 4
Gradually add the dry ingredients to the wet ingredients, mixing until just combined. Do not overmix. -
Step 5
Roll the dough into balls, then roll each ball in the remaining ¼ cup granulated sugar. Place on a baking sheet lined with parchment paper, about 2 inches apart. -
Step 6
Bake for 8-10 minutes, or until the edges are lightly golden and the centers are still soft. Do not overbake for chewy cookies. -
Step 7
Let the cookies cool on the baking sheet for a few minutes before transferring them to a wire rack to cool completely.
Important Information
Nutrition Facts (Per Serving)
It is important to consider this information as approximate and not to use it as definitive health advice.
Allergy Information
Please check ingredients for potential allergens and consult a health professional if in doubt.